
How to install
Checkout Commander is a Shopify app, so there’s only one way to install it on your shop: from the Checkout Commander listing on the Shopify App Store.
- Open the Checkout Commander listing.
- Click Install.
- Review the requested permissions and approve them by clicking Install.
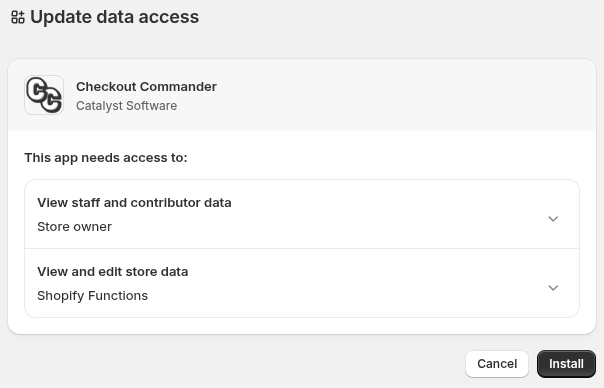
Once installed, Checkout Commander opens automatically. Before you can create operations, you must choose and activate a plan.
Select and activate a plan
Section titled “Select and activate a plan”You’ll be presented with a choice between the Basic, Advanced, and Pro plans. See Plans for what each one includes and costs.
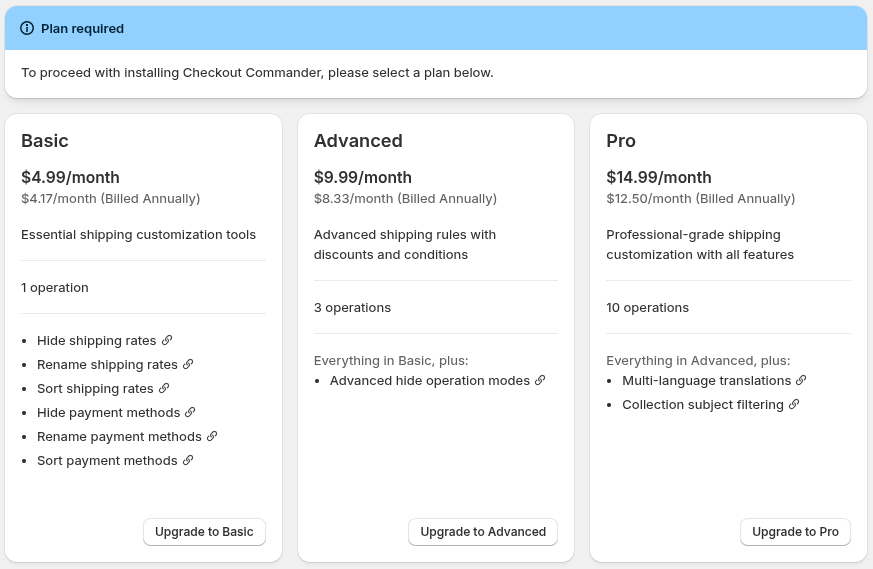
Selecting a plan opens a modal to confirm your billing interval. Confirming there redirects you to Shopify to approve the subscription charge, and you’ll land back in Checkout Commander once that’s done. For the full walkthrough, see plan activation guidance.
You’re good to go!
Section titled “You’re good to go!”Once your plan is active, you’ll arrive at the home page automatically. Checkout Commander is now installed and you’re ready to start commanding your checkout!
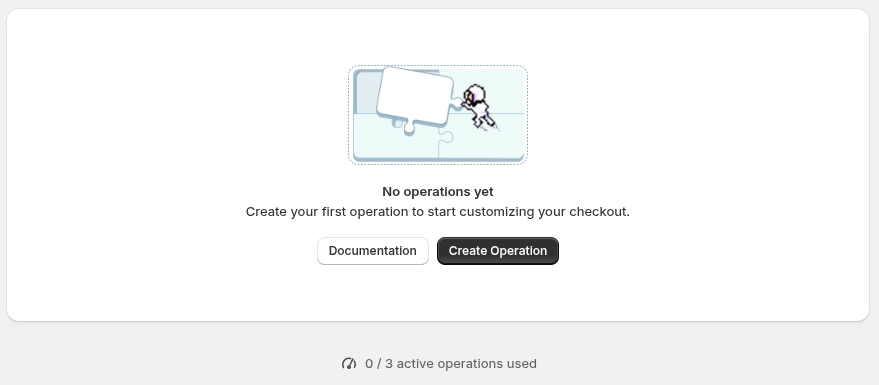
The first-operation tutorial walks through a complete shipping example. If a saved operation doesn’t seem to be working, check out the Operation didn’t take effect page for troubleshooting steps.
Next steps
Section titled “Next steps”- Building your first operation: create a working Hide operation.
- The home page: learn where to create and manage operations.
- Operations: learn the operation model.